Continue adding tissue paper until it covers where your glue is and then add another layer of glue and repeat the process. You will also need a glue stick a 3 oz.

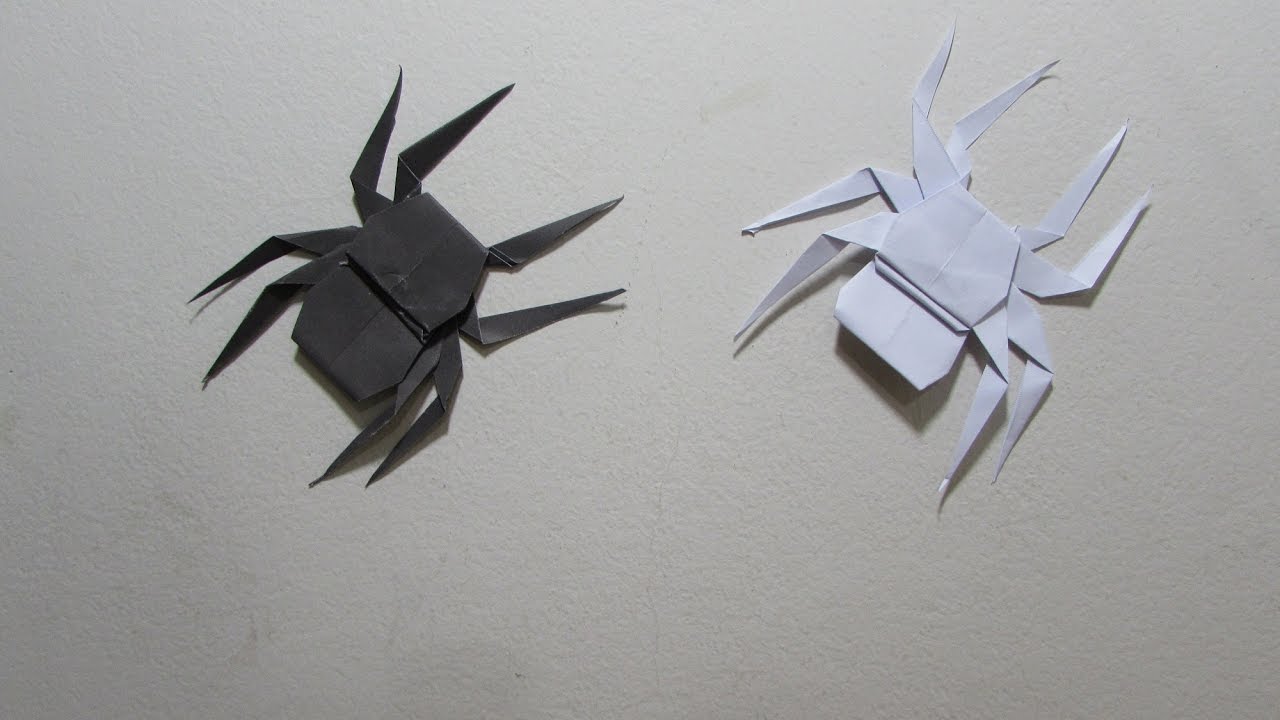
How To Make Origami Paper Balloon Origami Paper Cat 3d Paper Cat Paper Cat Blow Up Balloon Cat Youtube Balloon Cat Paper Balloon Blowing Up Balloons
Select a colored origami paper or any square piece of paper.

Make a paper ballooon. Cover your whole balloon and get as close as you can to the part of the balloon that is tied. Im going to teach you how to make a paper balloon that you can blow into. Commercial hot air balloons can be expensive but you can make a balloon that will float really high without having to set anything on fire.
Some suggest that the Chinese accidentally invented hot air balloons when they discovered their paper lanterns would float if the vent hole in the top was too small. Now you can learn how to make a paper balloon you actually have to blow air in to make it expand. Do this 3 or 4 times total and end with a layer of glue.
A4How To Make a Paper Water Bomb Balloon – OrigamiIn this video I explain how to make a Paper Balloon also known as the Water B. Make a Paper Balloon. If its already a square you can skip the next step.
The balloon is made of 7 gores of tissue paper. Fold the paper diagonally toward the back of the paper so that the top and side exactly line up. Before beginning the process have all your required things assembled.
I show how to make an origami paper balloon also known as a water bomb. Once the balloon is completely dry grab your push pin or other sharp object and pop the balloon. It is an easy model to make but when folding try to make the edges as straight as pos.
Start with a square piece of origami paper color side down. Start by making a square. Each gore needs 2½ sheets of tissue paper.
If you want to make a mini flyable hot air balloon with candles cut a 4 inch square from a sheet of aluminum foil and draw a dot about 1 inch inside each corner. This is so the edge of the fold when opened is toward you. Light crease a center line down the middle.
The below procedure describes how the gores are stuck together leaving holes at. Please set up your child with one compulsory adult throughout the process to guide. Use your paint brush as you go to flatten and smooth out the paper strips.
I recommend doing multiple layers for a sturdy mache ball. Take the square paper and fold it in half diagonally to form a triangle. Open the paper and repeat this step with the other diagonal.
Set balloon aside and let dry overnight. Note that all folds should be as sharp as possible. Fold the bottom left corner to the top right corner then unfold.
Fold top corner down and use scissors or tear the bottom off carefully to leave a square. You can use the simple white glue or make one using flour and water to get a thick paste. Take your paper strips and dip them into the glue mixture and place it on your balloon and repeat.
Making a paper water balloon is exciting and fun and has important instructions that one cannot miss if they aim to make the best water balloon. You will need 2 sheets of tissue paper. Paper cup scissors 1 pipe cleaner 1 strip of 2 x 4 construction paper and 1 marker.
Cut 2 birthday candles in half. Any piece of paper will work just make sure its big enough for some folding it also has to be a square or a rectangle. Print the balloon template on cardstock paper.
All you need for this Instructable is a piece of paper and your breath. Be very uniform with the folds you make. Next fold opposite corner to produce an X on the square.
Sharpen the edge with your forefinger and thumbnail. DIY Paper Mache Balloon. The gores can be of different colors or the same color.
They can be decorated with colorful tissue paper scraps. If you only have regular rectangular paper follow instructions on how to make origami paper. Lets make a small model of a hot air balloon from tissue paper.
I used a piece of plain white paper because it was the closest piece of paper. Though strips of newspaper are mostly preferred for paper mache you can even try out brown craft paper or softer ones like tissue or paper towels. Step-by-Step Instructions to Make Origami Balloons.